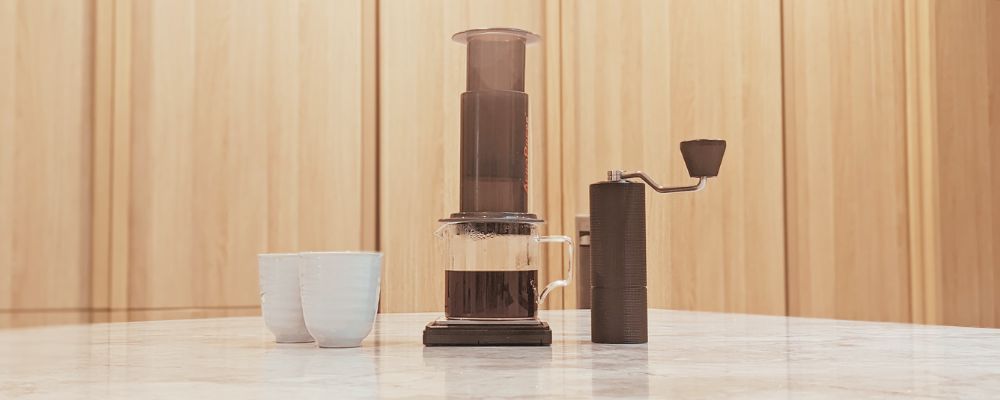
The AeroPress is a game-changer for coffee lovers, producing a smooth, rich, and flavorful cup with ease and portability.
It consists of two lightweight cylinders and a filter. It’s quick and easy to use and clean, and it’s lightweight and compact so it’s perfect for travelling.
What you'll need:
- AeroPress coffee brewer
- AeroPress filter papers
- AeroPress stirring paddle
- Kettle
- Scales
- Timer
- Dosing cup (any small cup will do)
- Jug (or large cup) to brew into
- Coffee (roasted for filter)
Recipe
Our standard AeroPress recipe is a great starting point for a clean, balanced, filter-style brew.
- Ground coffee amount: 16g
- Grind size: medium-fine
- Brew time: 28 - 30sec
- Brewed coffee amount: 225g
- Brew ratio: 1:14
- Water temperature: 90°C
Instructions
1. Prepare
- Place a paper filter in the basket and attach the basket to the brewer.
- Place the brewer, without the plunger, on top of the jug (or cup) you intend to brew into.
- Preheat both by pouring some hot water into the brewer. Discard the hot water from jug. Rinse and place the brewer back on top of the jug.
- Preheat and lubricate the plunger by pouring some hot water over it.
2. Grind
- Set your grinder to a medium-fine grind setting suited to a filter brew. Generally, a few notches coarser than an espresso setting on the grinder.
- Place a dosing cup on the scale and tare the scale to zero.
- Grind coffee for a few seconds into your dosing cup, then check the weight of the ground coffee on the scale.
- Keep grinding small amounts of coffee until you reach your target weight. Remove coffee if you go over.
3. Bloom
- Boil water to the target temperature you require for brewing.
- Pour the ground coffee into the brewing chamber. Level the coffee by gently shaking the brewer.
- Place the jug with the brewer atop, onto the scale and tare the scale to zero.
- Start the timer ⏱️
- Gently and slowly pour 100g of water into the brewer using a circular motion. Ensure all the ground coffee is saturated.
- Gently stir the coffee by moving the paddle left-to-right repeatedly 10 times. Do not use circular motions.
- Wait
3. Add water
- At the 1:00 mark, gently and slowly pour more water using a circular motion, until weight reaches 220g in total.
- Carefully move the jug with brewer atop off the scale and place on the bench.
- Gently place the plunger into the brewer without pressing too hard. Once in place, pull the plunger back up a fraction to create a vacuum inside the brewing chamber. This stops brewed coffee from dripping into the jug.
- And wait 😊
4. Plunge
- At the 2:00 mark, gently and slowly start pressing down the plunger. Use the weight of your arm to keep applying downward pressure on the plunger.
- Continue until all the water has been pushed through the ground coffee and you start hearing a hissing sound.
- Stop! Pull the plunger back up a fraction and stop any further coffee from dripping.
- Remove the brewer and set aside.
5. Swirl and serve
- Give the brewed coffee a few good swirls and let it sit for a minute or so.
- Pour into your favourite cup(s) and enjoy! ☕😊
Tips
- Ensure the jug or cup has an appropriate opening to hold the AeroPress in place and is sturdy enough to withstand the pressure of the plunger being pressed down.
- Don't use circular motions to stir the ground coffee as this creates a whirlpool effect, and the coffee settles into a mound. Resulting in unevenly extracted coffee. Gently stir the coffee by moving the paddle left-to-right repeatedly 10 times.
- Never press the plunger down whilst the jug and brewer are on top of the scale. This could damage your scale and may result in you jug sliding off.
- Avoid continuing to plunge after you start hearing a hissing noise. This pushes air through the ground wet coffee and may result in underivable flavour in your brewed coffee.
- Pressing down the plunger should take around 30 seconds to push all the water through the ground coffee.
- Clean and rinse your AeroPress brewer after each use. Regularly remove the silicon end of the plunger and clean within.


