Espresso packs a lot of flavour into a small drink that has been widely enjoyed across the world for over 100 years. It can be enjoyed as-is or adjusted for variations such as a ristretto or lungo (long black). It also suits milk-based coffees such as cafe latte, cappuccino or flat white. It can also be chilled or made into an espresso martini. Very versatile!
An espresso machine brews coffee by forcing pressurised, nearly boiling water through ground coffee, in order to produce a strong cup of coffee, quickly. It can take a bit of practise and experimentation to pull that perfect espresso shot, but once you get there, good luck resisting making another, and another.
What you'll need:
- Espresso machine
- Coffee grinder (designed to grind for espresso)
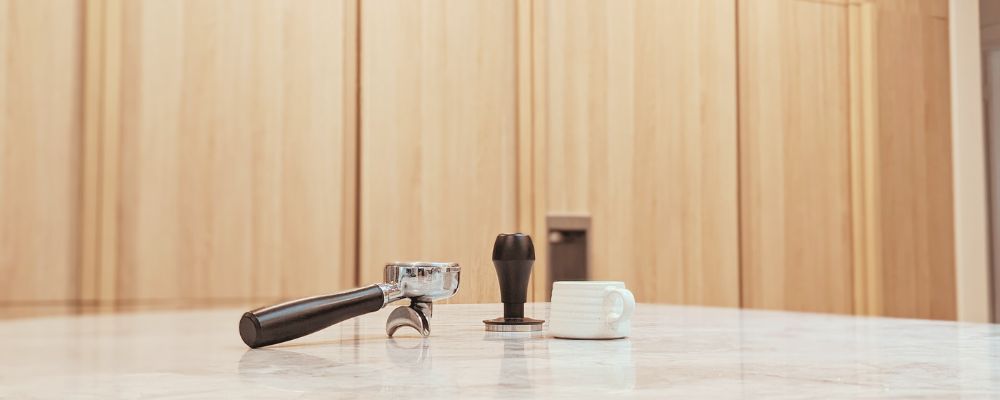
- Tamper
- Scale
- Timer
- Cup
- Dosing cup (optional)
- Dosing funnel (optional)
- WDT tool (optional)
- Distributor (optional)
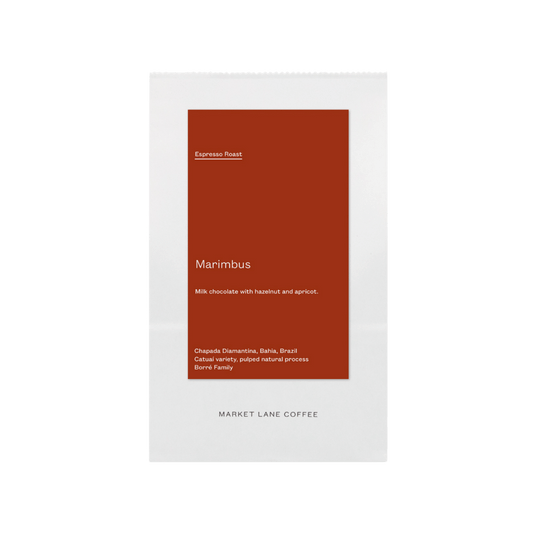
- Coffee (roasted for espresso)
Recipe
Our standard espresso recipe is a great starting point for all beans roasted for espresso. But keep an eye out for tailored brewing recipes recommended by roasters.
- Ground coffee amount: 20g
- Grind size: fine
- Brew time: 28 - 30sec
- Brewed coffee amount: 40-44 g
- Brew ratio: 1:2 - 1:2.2
- Water temperature: 94°C
This recipe makes two standard espresso shots. Brewed coffee can either be split into separate cups or used to make one drink with two shots.
Instructions
1. Prepare
- Turn on your espresso machine, ensure the reservoir is full of water, and let it warm up to operating temperature with the portafilter locked in place.
- Ensure your portafilter and filter basket are clean and dry.
- Organise your equipment so they are clean, easily accessible, and ready to go.
- If you'll be following a specific brewing recipe, confirm the ground coffee amount, brewed coffee amount and the target brewing time you are aiming for.
2. Grind
- Set your grinder to a fine grind setting suited to espresso. Often a few notches coarser than the finest setting on the grinder.
- Place the portafilter or dosing cup on the scale and tare the scale to zero.
- Grind coffee for a few seconds into your portafilter or dosing cup, then check the weight of the ground coffee on the scale.
- Keep grinding small amounts of coffee until you reach your target weight. Remove coffee if you go over.
- If grinding into a dosing cup, invert the portafilter and place it firmly over your dosing cup. Then invert the cup and portafilter together until the portafilter is the right way up. Gently shake them together so the ground coffee falls evenly into the basket. Remove the dosing cup and set aside.
3. Level and distribute
- Ensure the ground coffee is level and distributed evenly in the basket by gently tapping the portafilter on the side with your hand.
- Optional: With the dosing funnel on top of the portafilter, use a WDT tool to evenly distribute and level the coffee using gentle small, swirling, circular motions. Remove the dosing funnel.
- Ensure the ground coffee had settled by gently tapping the portafilter on the bench.
- Optional: Use a distributor tool to further level and distribute ground coffee by placing it on top of the portafilter and giving it a few complete turns.
4. Tamp
- Place the portafilter on a solid level surface, such as a bench, and place the tamper on top of the ground coffee.
- Press the tamper down firmly and evenly, keeping it level in all directions, to compress the ground coffee. Gently remove the tamper to avoid disturbing the compressed ground coffee.
- Remove any excess ground coffee from around the portafilter to avoid coffee from accumulating within the group head of your espresso machine.
5. Brew
- Flush the group head without the portafilter by letting hot water flow through for a few seconds. This clears any built-up ground coffee and stabilises the temperature of the group head.
- Place the portafilter into the group head and lock firmly into place.
- Place the scale and cup below the portafilter, tare the scale to zero and immediately start to brew.
- Optional: Pre-infuse the ground coffee by gently soaking the ground coffee for around 5 seconds under low pressure.
- Initiate the brewing function on your espresso machine and simultaneously start the timer.
- Brewed coffee should start flowing slowly with a thick, syrupy consistency and be dark in colour. Transitioning to a progressively lighter caramel colour and thinner, runnier consistency.
- Stop brewing when the brewed coffee weight reaches the target weight of your recipe. Keep a note of the total brewing time – hopefully it was close to your recipe target brewing time.
6. Clean and serve
- Remove the portafilter and knock out the brewed coffee grounds.
- Rinse the portafilter basket with water from the group head and wipe clean. This also purges ground coffee from the screen in the group head.
- Place the clean portafilter back into the machine to maintain its temperature.
- Serve your coffee immediately and enjoy! ☕😊
Tips
- It’s best to have a basic brewing recipe to follow. As a general rule, plan to start with an amount of coffee that comfortably fits in your basket. Weigh how much coffee this is, and then aim to brew an espresso that is double that weight in about 30 seconds.
- Do not overfill in your filter basket with ground coffee. There should be approximately 0.5 cm gap between the top of the ground coffee and the top rim of the filter basket after you have tamped. An overfull basket will prevent the portafilter from locking correctly into place in the group head.
- If you attempt to brew with an incorrectly positioned portafilter, you may end up with hot water and/or steam leaking from between the portafilter and group head. Apart from resulting in a terrible coffee, you run the danger of burning yourself!
- If the brewing time doesn’t match your recipe, never fear. Have a taste to learn how the current settings affected the brewing process and the resultant brewed coffee. Adjust your grinder settings accordingly and have another go. Generally, a finer grind slows the brewing time and a coarser grind speeds it up.
- Adjust the brewing time only by adjusting the grind size. Do not adjust the amount of ground coffee in your basket unless you believe you've been incorrectly filling the basket for its size.
- After brewing has completed, remove the portafilter and inspect the ground coffee (puck) before discarding it. Check for signs of channelling or uneven water flow – such as little holes on top of the coffee, holes between coffee and the basket wall or a loose puck.
- When you knock out the puck, it should come out cleanly, leaving little to no coffee in the basket. If it breaks apart and you can see somewhat dry coffee, it's another sign of uneven water flow during brewing.
- Channelling and uneven water flow is generally caused by issues in preparing the ground coffee in the portafilter.
Ensure the following for best results:- Ground coffee is evenly distributed in the portafilter all the way to the walls of the basket with minimal clumping.
- Tamper is an appropriate size for your basket - so that it fits snuggly inside when pressing down on the ground coffee.
- Tamper is completely clean and dry before use.
- Tamper is level in all directions whilst pressing down firmly. Press down only once.
- Be sure not to knock or bump the tamped portafilter before placing it into the group head.


